News:

New Board:  Forum Support (Below Chandlery). Forum Support to submit any questions.

Main Menu
Menu

Show posts

This section allows you to view all posts made by this member. Note that you can only see posts made in areas you currently have access to.

Show posts Menu

Messages - JMB

#1
Scott - Since I sold my 1980 Pearson 365 Pilothouse, I don't check the site anymore, but a friend sent me a note about your damage. My boat was hit by Hurricane Hermine in Sept. 2016 by a boat that dragged down, pivoting over my mooring line, catching the rudder. The boat was now trapped on my port side and the 2 boats were pounding the hell out of one another. The harbormaster and Yacht Club could not separate the boats for days until the storm subsided.

Besides needing a paint job, the damage was to the toe rail near the bow and the rubbing strake on the port side.

My insurance was BoatUS, now GEICO, and they explained that in a named storm (such as Hermine), each insurance company is responsible for their own policy holders. I didn't understand why they didn't press why the other boat broke loose (shackle failed) and hold that boat responsible, concerned that GEICO would raise my rates - which they did. :(

I would be glad to share some pictures and discuss things more if helpful.
jmbjr@comcast.net

John Ballinger
#2
While I have been constantly re-caulking in the way that Bob described, this winter and spring, I removed and re-bedded the seahood and took the inside overhead down to bare fiberglass.
I am concerned that my user error has prevented the posting of the various pictures I had added to Photobucket to show the various stages of my project.
Picture of the overhead before removal of panels.
  Picture of the panels removed showing the boards the panels screw into.
  Picture of the bare underside of the cabin roof.
  Picture of one of the 50+ bolts that hold the cabin roof to the aluminum frame.
  Picture of the overhead with the panels back in place and the repaired bulkhead.

I found many of the nuts loose so I added a ss lock washer to each and tightened them down.
By the end of May, I noticed no moisture or discoloration of the bulkheads.
I then cut and added a piece of teak veneer to make the interior look great.
While I never found any source of any leak, I have assumed that all of the steps taken solved the problem.
I then caulked every screw hole in the overhead before adding the boards and finally the panels and trim.
#3
On both sides, the moisture seems to come near the junction of the cabin roof and the window frame structure, although I can find no evidence of water. The wood has been saturated to the point that I have repaired both sides, filing the area with a synthetic material.
Recently I have removed all overhead panels and have started removing anything that screws into or thru the cabin roof, such as the handrails.

Has anyone else had this problem and can help me identify where these leaks are coming from??
#4
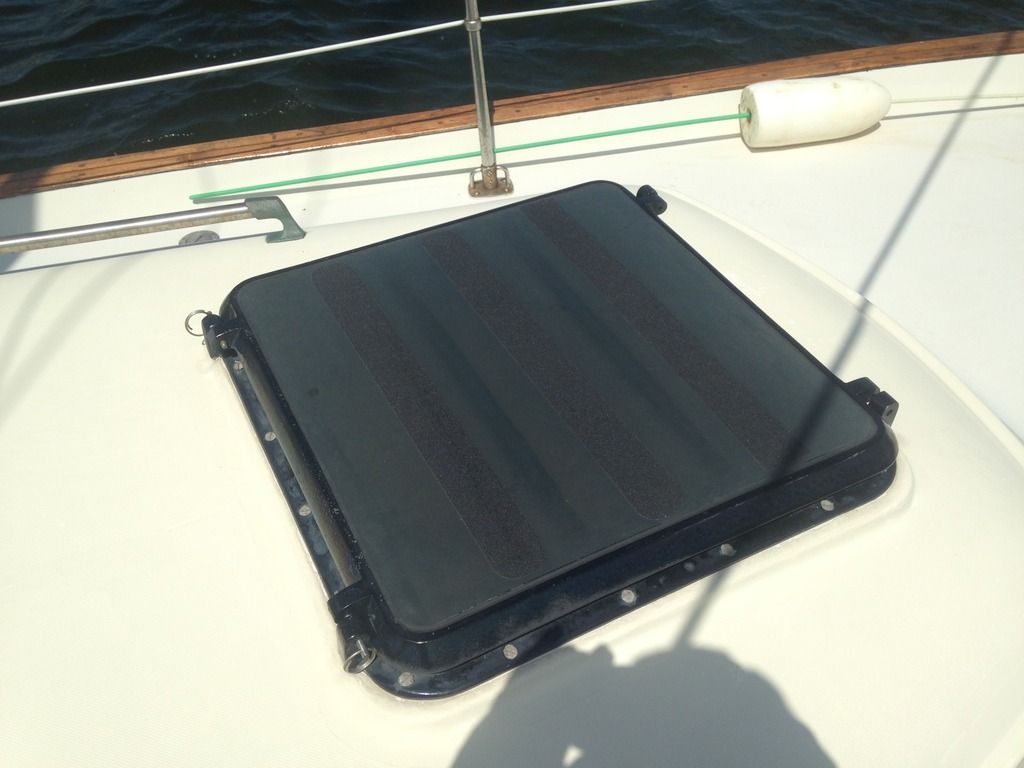
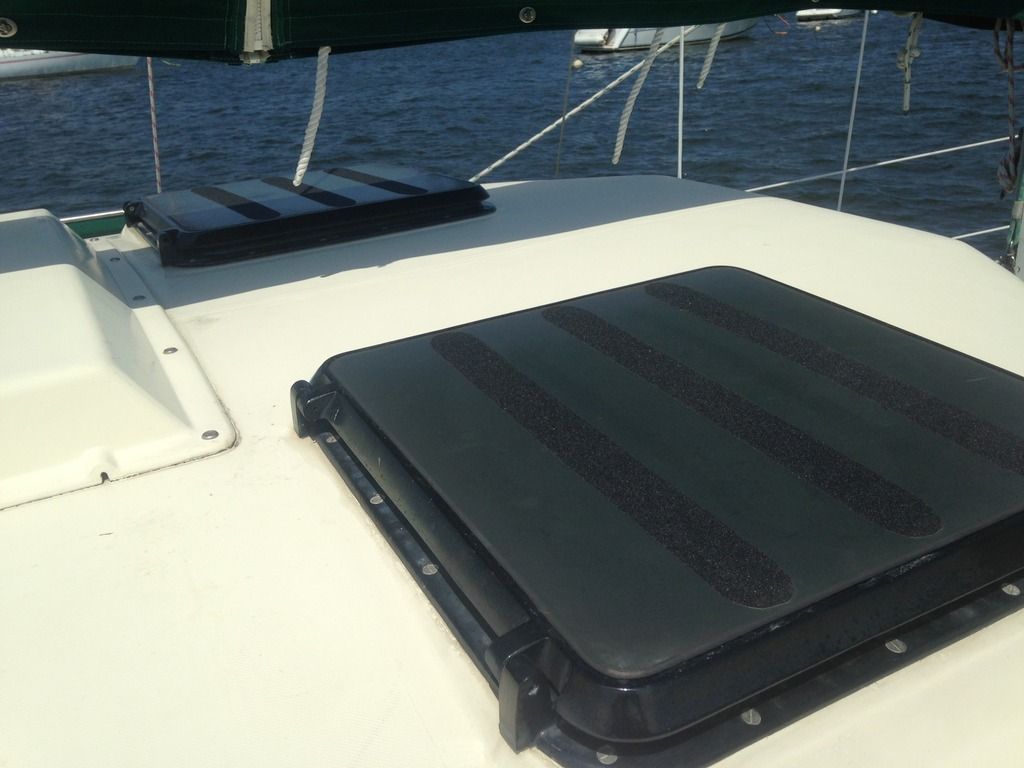
The Pilothouse presents a challenge when removing or putting on the sail cover, especially when the cabin roof is wet.
Going to my local hardware store, I purchased some non-skid used on porch steps.
I added 3 strips to each hatch on the cabin roof as well as the forward hatch over the v-berth.

#5
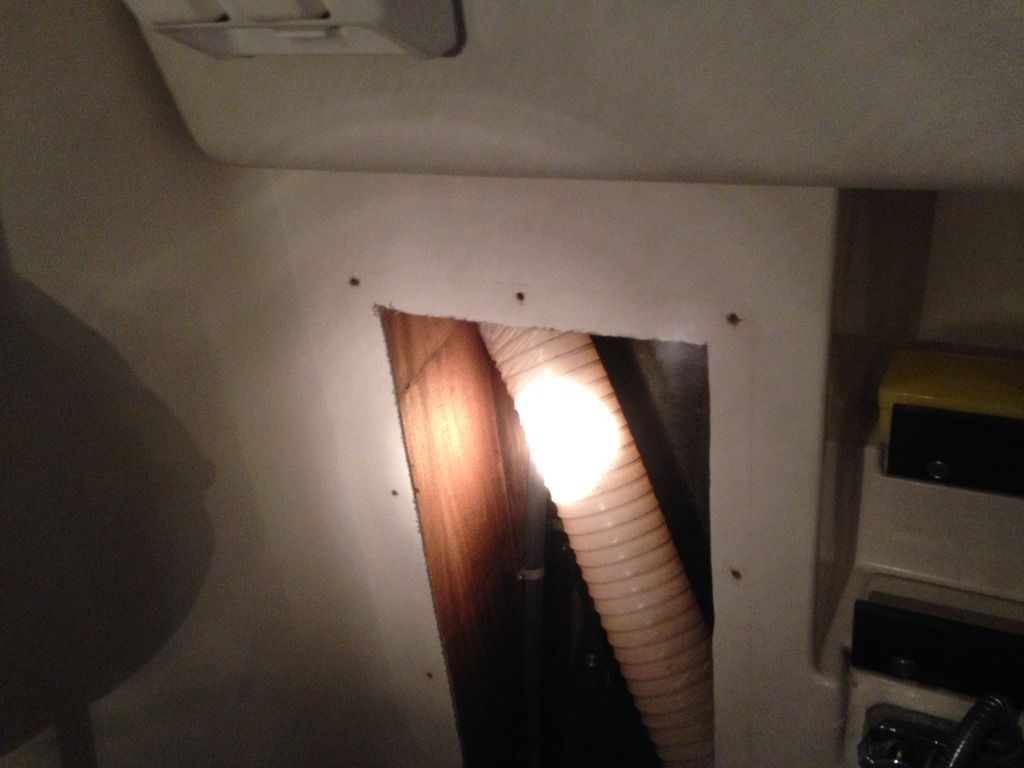
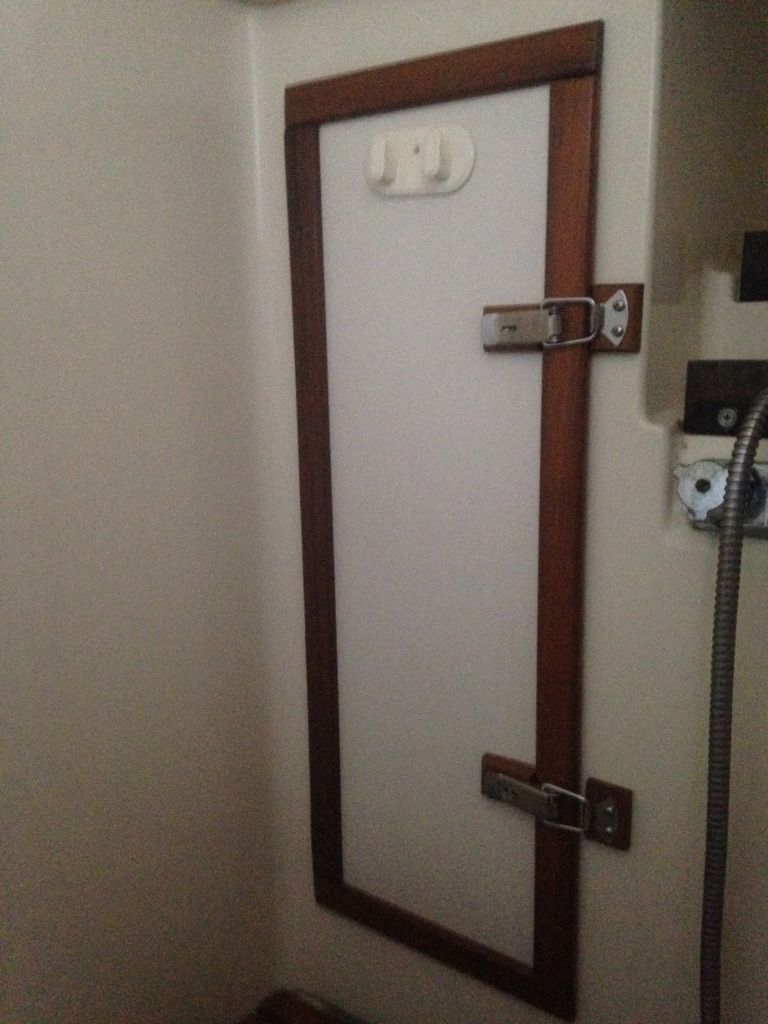
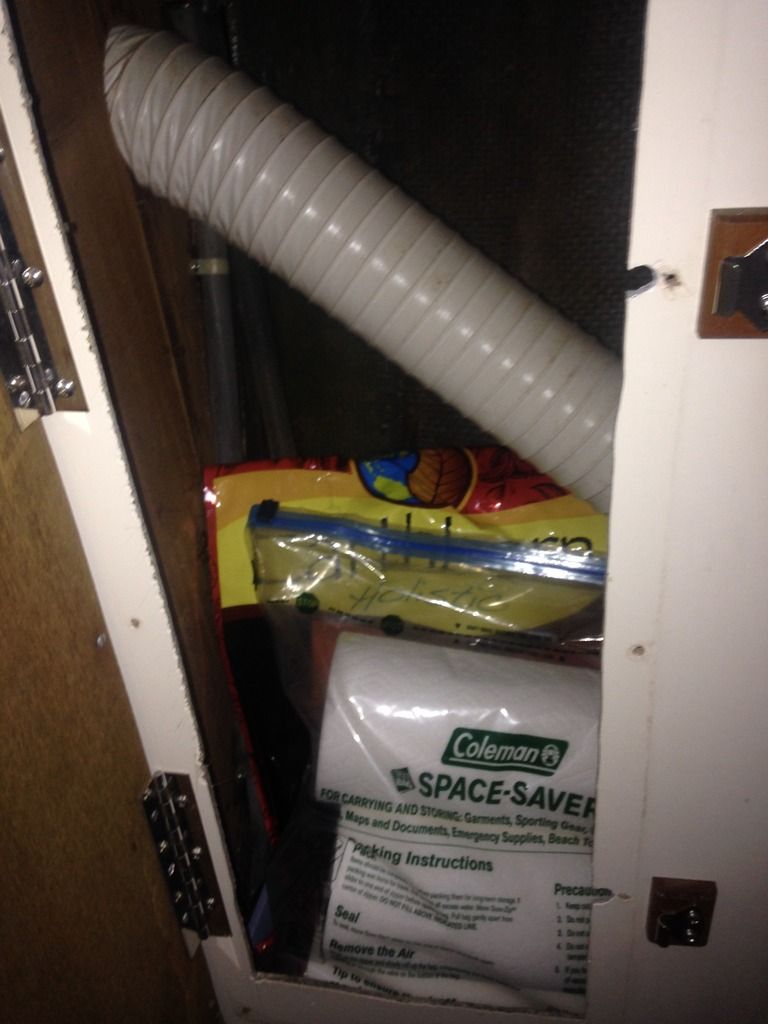
In the standup shower, there is an access hatch, screwed into the side of the shower stall. This access hatch enables you to check the port side forward scupper thru hull, some water lines and an air conditioning hose.


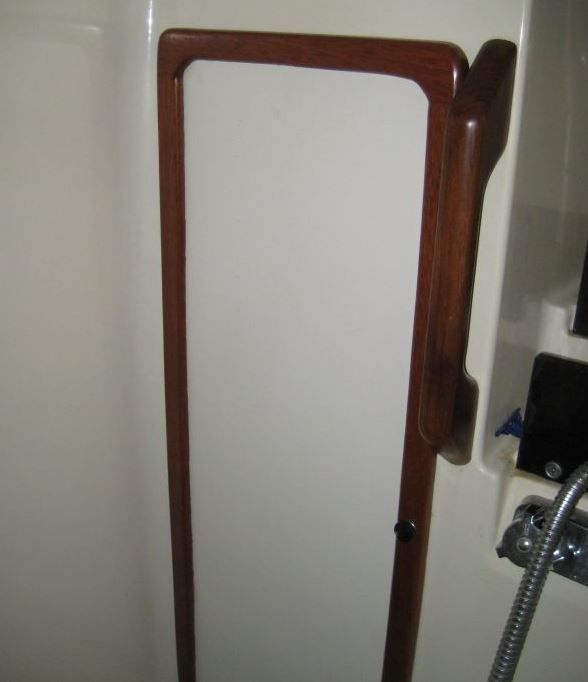
By adding 1 3/8" teak battens to the edge of the hatch, along with 2 piano hinge sections, the hatch evolved into a storage hatch. The toughest challenge was finding and installing 2 stainless steel latches that would keep it secure and not rattle.


As you can see, another pilothouse owner has done a more elaborate wooden trim.


My storage hatch now holds paper towels and dog food.


#6
Pearson Pilothouse / Re: Number 10
November 23, 2016, 05:01:02 PM
Jake - Hope you post pictures so we can all get ideas for future projects - welcome aboard!!
#7
Pearson Pilothouse / Re: Number Twenty Three
November 23, 2016, 04:40:10 PM
Truly a excellent piece of cabinet quality woodworking - well done!!
#8
Pearson 365/367 Yacht Club / Re: Maine bound.
September 27, 2016, 10:41:26 AM
I think I need to add clarification to my pot warp comment. The pot warp is a small line with a small rubber toggle connected to the lobster pot buoy. You can't go between them. They seem to be more affected by wind than current that the buoy seems to be.

Again, one must pay close attention.
#9
Pearson 365/367 Yacht Club / Re: Maine bound.
September 26, 2016, 04:44:02 PM
Dale - So far, it has worked for me on 2 boats. That said, I still pay attention and do not go blindly thru lobster pots.

One difference in lobstering between Casco Bay and Penobscot Bay: Many in Penobscot Bay use a pot warp, a small line connecting the lobster pot with a small rubber toggle. You really have to pay attention!!

But the beauty more than out weighs the risk!!
#10
Pearson 365/367 Yacht Club / Re: Maine bound.
September 24, 2016, 01:53:29 PM
#11
Pearson 365/367 Yacht Club / Re: Maine bound.
September 24, 2016, 01:50:02 PM
Dale - The previous replies have lots of great advice so I will attempt not to repeat.
The first thing I would recommend is get some cruising guides of the Maine Coast. I highly recommend Taft's - it is great. Tells you where to anchor / how pretty the spot is / history / places to eat / facilities / etc - also interesting reading.
We found that lighting the cabin hurricane lamp was sufficient to cut the chill of a summer night. We also decided if the fog was too thick, even with radar we would just stay put and read the next chapter of our book. Casco Bay is more crowded than Penobscot Bay but it is relative since any area south of Maine is crowded in comparison. The farther "down east" you go, the less crowded and the fewer services available and the better one needs to be from a mechanical perspective.
Portland is at the beginning of Casco Bay as is a nice little city to explore.

The only special gear I would suggest is a skeg in front of your prop. I first did this on our Bristol and had one added to our Pilothouse. Hopefully I can post a picture
imghttp://i357.photobucket.com/albums/oo18/jmbjr2/Power%20boat%20prop%20with%20Skeg_zpse76pwstq.jpg/img

#12
Pearson Pilothouse / Re: Number Twenty Three
August 31, 2016, 02:16:08 PM
I just want to remind everyone that this is still summer, where we should be sailing and enjoying our Pilothouse's.

Fall is just around the corner with winterizing / haul out / and the start of next years projects.

I am impressed with all of the work done as shown by the photo's.

I also removed the stove to gain access to the stbd scupper hose - what a pain - stupid design.
#13
If you have ever had the pleasure of cruising in Maine, you are aware of the abundance of lobster pots. Some areas include a warp with a toggle along with the lobster pot, just to make it interesting.  :o

Consider adding a skeg to your strut that will help prevent being hung up. I still pay close attention though..

#14
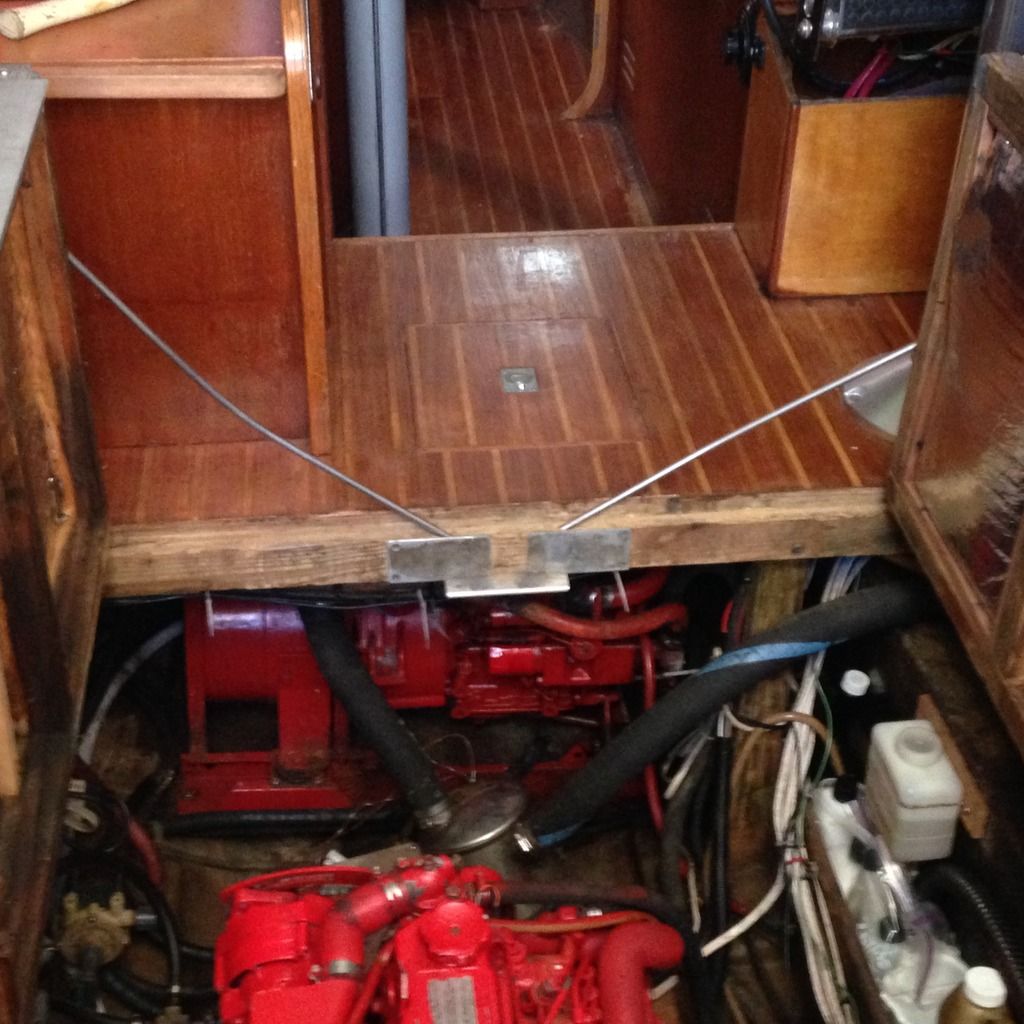
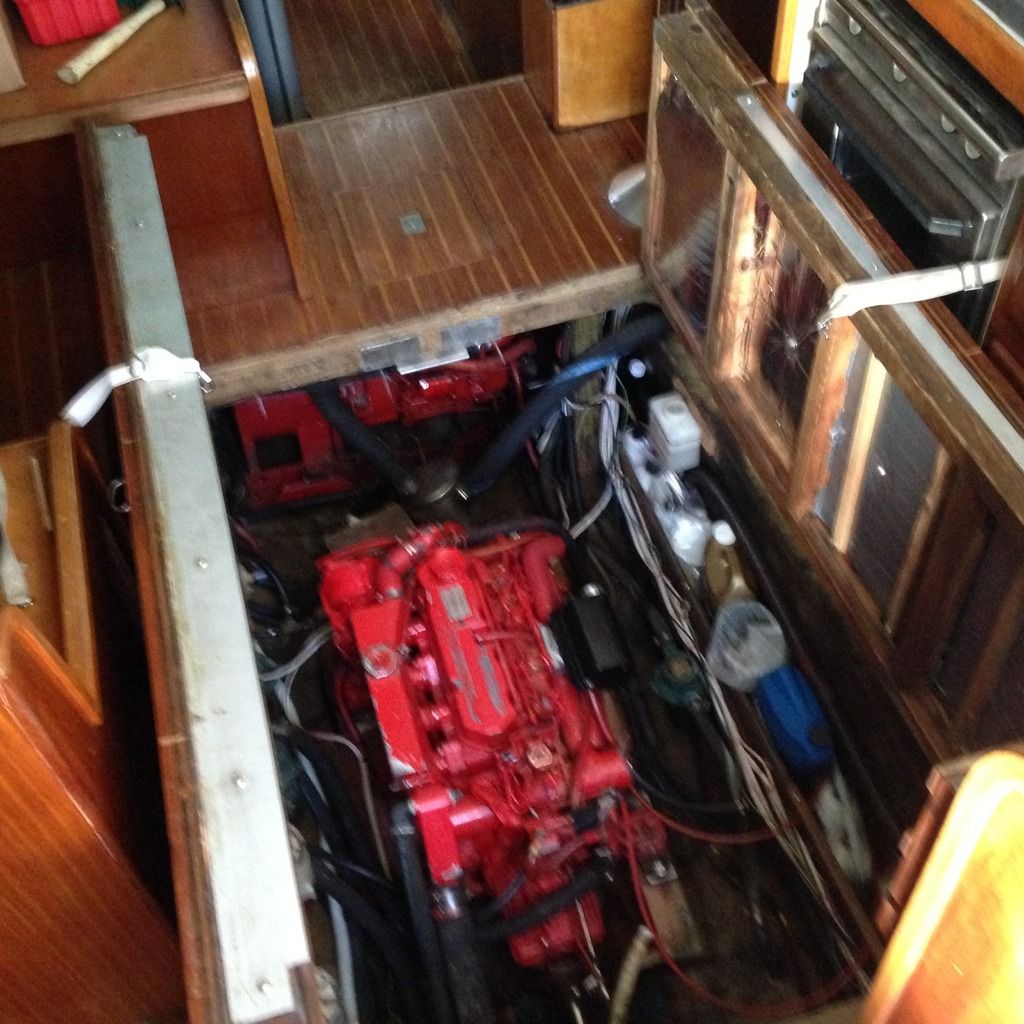
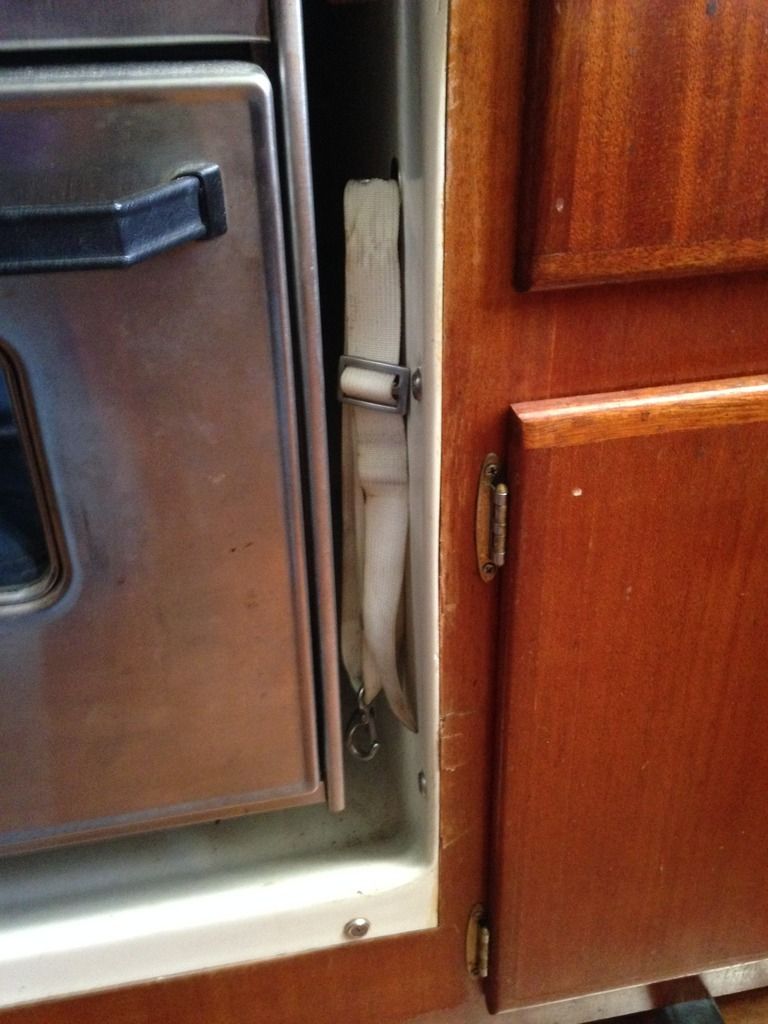
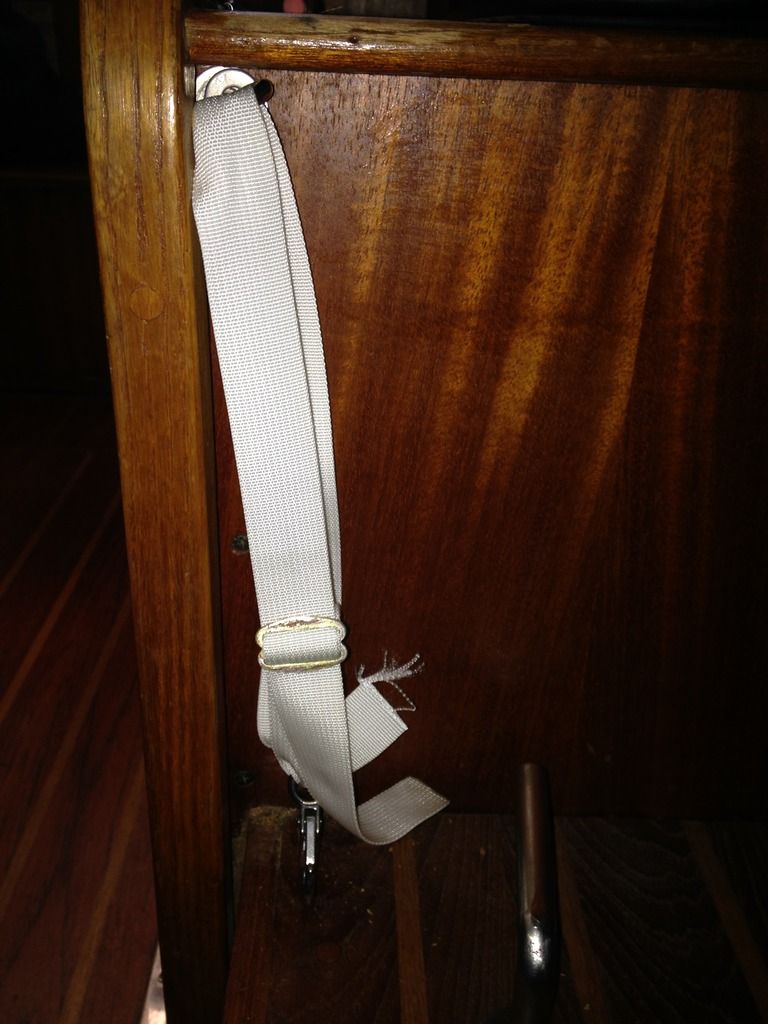
When I bought Springtide in 2010, I was surprised at the method of holding open the engine hatch covers, assuming them to be factory supplied. I have replaced them by adding eye bolts / nylon straps / hooks on stbd side by the stove and port side on the settee.

Original (I assume):


My approach with 2 straps:


Stbd side next to oven:


Port side on settee:


Hopefully Bob will post how he used gas struts to hold his engine hatches open..  :)
#15
Pearson Pilothouse / Re: Number Twenty Three
December 01, 2015, 05:43:54 PM
Chris - I am replying to that hidden paragraph regarding that little bilge area by the mast:
          In the foremost portion of the bilge, there's a hull "pocket" that captures drippings from the anchor locker. It has to overflow before any of it will     drain further aft to the deeper bilge where the pumps are - presumably that happens naturally when underway. Yesterday I drained it with a handpump and was surprised to see how much water gets captured in there.

I am puzzled as to the design of the area forward of the engine. Water forward of the engine will drain forward and pass thru a bulkhead and end up by the maststep. I used to get a lot of water until I re-caulked the 3 forward windows. That said, why there is no draining into the primary bilge is my primary question / concern. While I have a 4.4.KW Gen Set forward of the engine, the weight might be the reason the water heads towards the mast. There is a slight depression that I pumpout using a bilge pump that I plug into a small outlet nearby. I had to run a hose over the bulkhead and back to the primary bilge. Once the pump is plugged in, I move the pump around in the small depression until I get most of the water out and then sponge out the rest. I primary concern is trying to make sure the mast step remains dry. I doubt that this water will ever drain aft into the primary bilge naturally when underway.